Posting stuff home to yourself while travelling in Japan isn’t difficult to do. Case in point – in June 2018 I had the chance to head over to Japan as part of my Masters degree for a study tour and bought more nerdy stuff than I was anticipating. While I’ll cover the trip in more detail later on, this post will cover how to post stuff home. You know, for those occasions where you run out of room in your luggage because you’re a giant weeb and bought too much crap. While it’s subjective and from an Australian perspective, I’m hoping there’s plenty here to help in a practical sense!
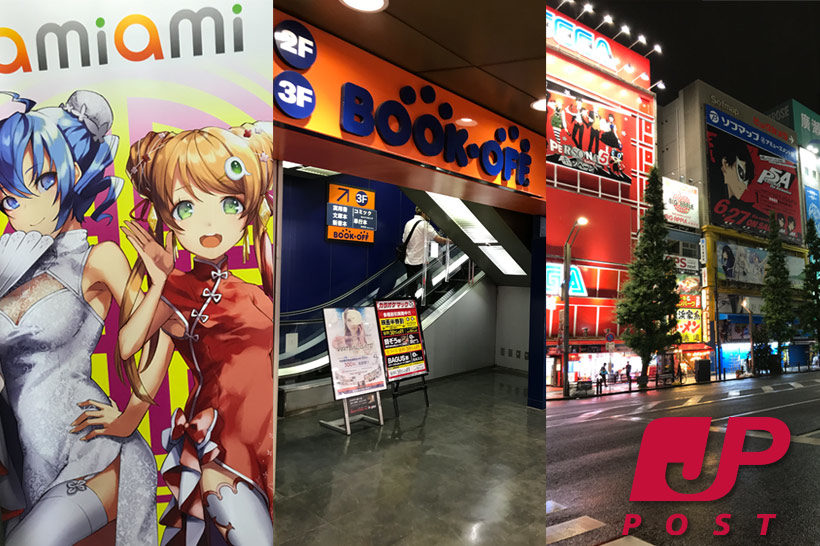
Japan Post
While there are a number of postage options if you’re sending stuff home from Japan, I’ll cover how I managed my own spending habits in this writeup. Japan’s postal system, powered via Japan Post, is generally excellent with lots of options for posting stuff home. For small packages you can use airmail or international courier for reasonable prices. However, they offer amazing value on slow shipping for large items via Surface mail. I sent around 4 big boxes to Australia, each weighing between 8kg and 10kg, and on average I was paying around ¥6-¥7,000 per box for postage. The catch is that it can take 2-3 months to arrive, but if you’re in no rush it’s a great way to post your nerd purchases home cheaply.
So, what’s involved? Not a lot really – here’s how I managed it for my trip.
Part 1: Find a post office!
Once you’ve amassed a decent amount of gear that isn’t practical to haul around with you, use Google Maps to find your nearest Japan Post post office. Opening hours and locations vary, so keep this in mind. During my trip, for the first post office run we were staying in Ikebukuro and I needed to post on the weekend so the only option was the big post office near Sunshine City. Given the distance from the hotel and how busy they were, it was a lengthy process walking back and forth!
However, for the last chunk of the trip our hotel was located next door to the 24/7 Kanda Post Office so I could post first thing before lectures or in the evening after coming back from dinner or nerd-shopping in Akiba.
In some post offices there’ll be a ticketing system and wait times can be long. Also, don’t expect English-speaking staff as there aren’t necessarily bilingual staff always rostered on. Being prepared will make it much smoother. Which leads to…
Part 2: You get to packing…
Once you’ve located your local post office, drop by to pick up the international postage forms (they’ll be near the counter or on one of the stands) and pick up a cardboard box to suit. I used the Imiwa app to grab the right name and kanji for cardboard boxes (dan bo-ru bako). This way I could flash this to the attendant to make up for my rubbish pronunciation. They normally have a number of sizes to choose from, and I relied on the largest size which set me back a little under ¥500. There’s other places to grab boxes, but picking one from the post office was convenient and I figured would make the postage process straightforward in case a box from elsewhere didn’t meet their standards.
With your box handy you now need to grab packaging materials – but don’t look for them at the post office as they don’t stock any. I found Don Quijote, ¥100 stores or similar places to be the best source for bubblewrap and thick packaging tape. In a pinch you can also grab smaller sticky tape rolls and a stack of newspapers from a nearby convenience store. I did that for my first package, and the attendant at the post office was nice enough to offer to add some extra packaging tape to the box when I dropped in to post it at Ikebukuro, but don’t bank on it just in case.
Part 3: Paperwork
Now with all your packaging and paperwork ready to go, sort everything out in the comfort of your hotel and fill out the forms for the package.
You can use your hotel’s address for the sender’s details (maybe not best practice but it worked for me) and fill your details in as needed. Japan Post’s website has detailed information on how to do this, but I thought I’d also offer a practical example. In this case I’ve:
- Used the hotel’s address for the sender
- set the home address here in Australia for the destination with international code for my contact number
- indicated Surface mail for the cheap and slow option
- marked it as a gift
- added the date and signature (blanked out in this example)
- ticked the package doesn’t contain any dangerous goods
- didn’t tick to insure as there are limits on insurance for Surface mail (the original slip before I edited the contents for this article was for around ¥60,000)
- filled in the redirect address to my workplace via Surface mail
- I then popped in detailed content descriptions and the values for both the individual lines and the total value
Excusing the image quality, the end result looks like this:

… a note on descriptions
I’ve been told by others to avoid being too brief about the content you add here. So in this example I’ve separated laserdiscs, video games and figures (marked as anime toys – see below), indicated the volume of each and the total value and specified no batteries were in the box to avoid any delays.
I was quizzed on some of the terms I used when I tried posting my stuff off, particularly “merchandise” and “character goods” which I initially used describe some random gear I picked up at Animate. In the end I ended up changing it to “anime toys” while I was there which sorted stuff out. If your Japanese is a bit rough (or non-existent) I’d look up some pictures on your mobile phone to show what’s in the box to help illustrate what you’ve included in your description.
… a note about customs fees
Keep in mind the value of the box may attract customs fees. I can’t speak for other countries, but in Australia for individuals posting stuff home, the value of the package needs to be under $1000 to avoid a 10% GST bump on your gear (more info here). There’s also stuff that’s illegal to import depending on your country so be sure to get your details in order to avoid any issues. For example, in Australia this includes weapons, pornography, illegal drugs and plenty of other stuff – check the Australian Border Force’s website for more details. For other countries I’d suggest checking out the official details from your Customs or your postal service.
Part 4: Post the damn thing
Anyway, once the box is packed and the customs form’s complete, paste it neatly on the top of the box and don’t tape over it! Finally, head back to your nearest post office to lodge and pay. If memory serves I paid in cash rather than use a credit card.
Part 5: Delayed gratification
Once complete they’ll give you your copy of everything to hold onto (including the tracking number which I’ve blanked out in the example above). You can then walk away knowing your gear is on the way and you now have extra room in your luggage for more nerd splurging.
Postage via Surface mail takes around 2-3 months. In some cases I’ve had Surface mail appear on my doorstep in 6 weeks, while other times it’s been a full 3 months. Airmail is normally within 2 weeks though and courier is typically very fast if you use EMS. Depending on your patience and how much you want to spend these are other options, but the price factor really cements how effective Surface mail is to make sure your spending doesn’t get in the way of your travels throughout Japan.
Regardless of the outcome it’s a pretty smooth experience. Just keep in mind the above, especially the clear and detailed listings on the package contents to reduce the likelihood of questions when posting your gear home. There’s heaps of info on Japan Post’s International Parcel Post section on their website, so read up in case it fills some blanks.
… and with that we’re done – I hope you find this useful next time you’re holidaying in Japan!
Special thanks
Many thanks to those I tapped on the shoulder for postage advice while I was in Japan last year, especially AI co-founder Inferno, as well as Osty from King Kaiju Collectibles, both of whom I hit up at short notice for some guidance at random intervals! I wouldn’t have felt comfortable jumping into initiating this whole process without their support!